
2 Ingredient DIY Pore Strips in 2 Minutes or Less
Within the last three months my skin has undergone a dramatic change. I began a medication that persuaded my endocrine system to test out a new cocktail of hormones, adding more of this and less of that--kind of like a bartender who just graduated from a cocktail academy and is a little too eager to experiment with your simple request of a g+t. My body, drunk off a hormonal version of a long island iced tea, has since blessed me with a crop of fresh cystic acne blooming across my cheeks.
My skin type, which was considered “dry” just months ago, has now shifted to "oily." Before, I dealt with small, under-the-skin acne and the occasional painful, large pimple. Now, my skin secretes oil like it is watering the damn Sahara desert. My face glistens just hours after I put on my powder, my cheeks are topographic maps complete with brilliant red mountain ranges, I even have snakes of pimples running down the center of my chest.
Therefor, I have been forced to change my entire skincare and makeup routine to accommodate for these new break outs; and though my skin regimen is now full of trial and error, there is one routine I retained: pore strips.
I learned pretty quickly that drugstore pore strips are not for me. They simple dry out my skin and little else. Therefor, I started doing a homemade recipe for a charcoal pore mask that has become my saving grace. Whether my skin is oily or dry, acne ridden or relatively clean, this process has always left my pores clean and my skin surprisingly happy.
I figured I would share this easy recipe with you below.
2 INGREDIENT, 2 MINUTE PORE MASK DIY
Supplies:
- Jar or bowl for mixing
- Elmer’s School Glue (non-toxic and water soluble)
- A spoon or some other utensil for measuring
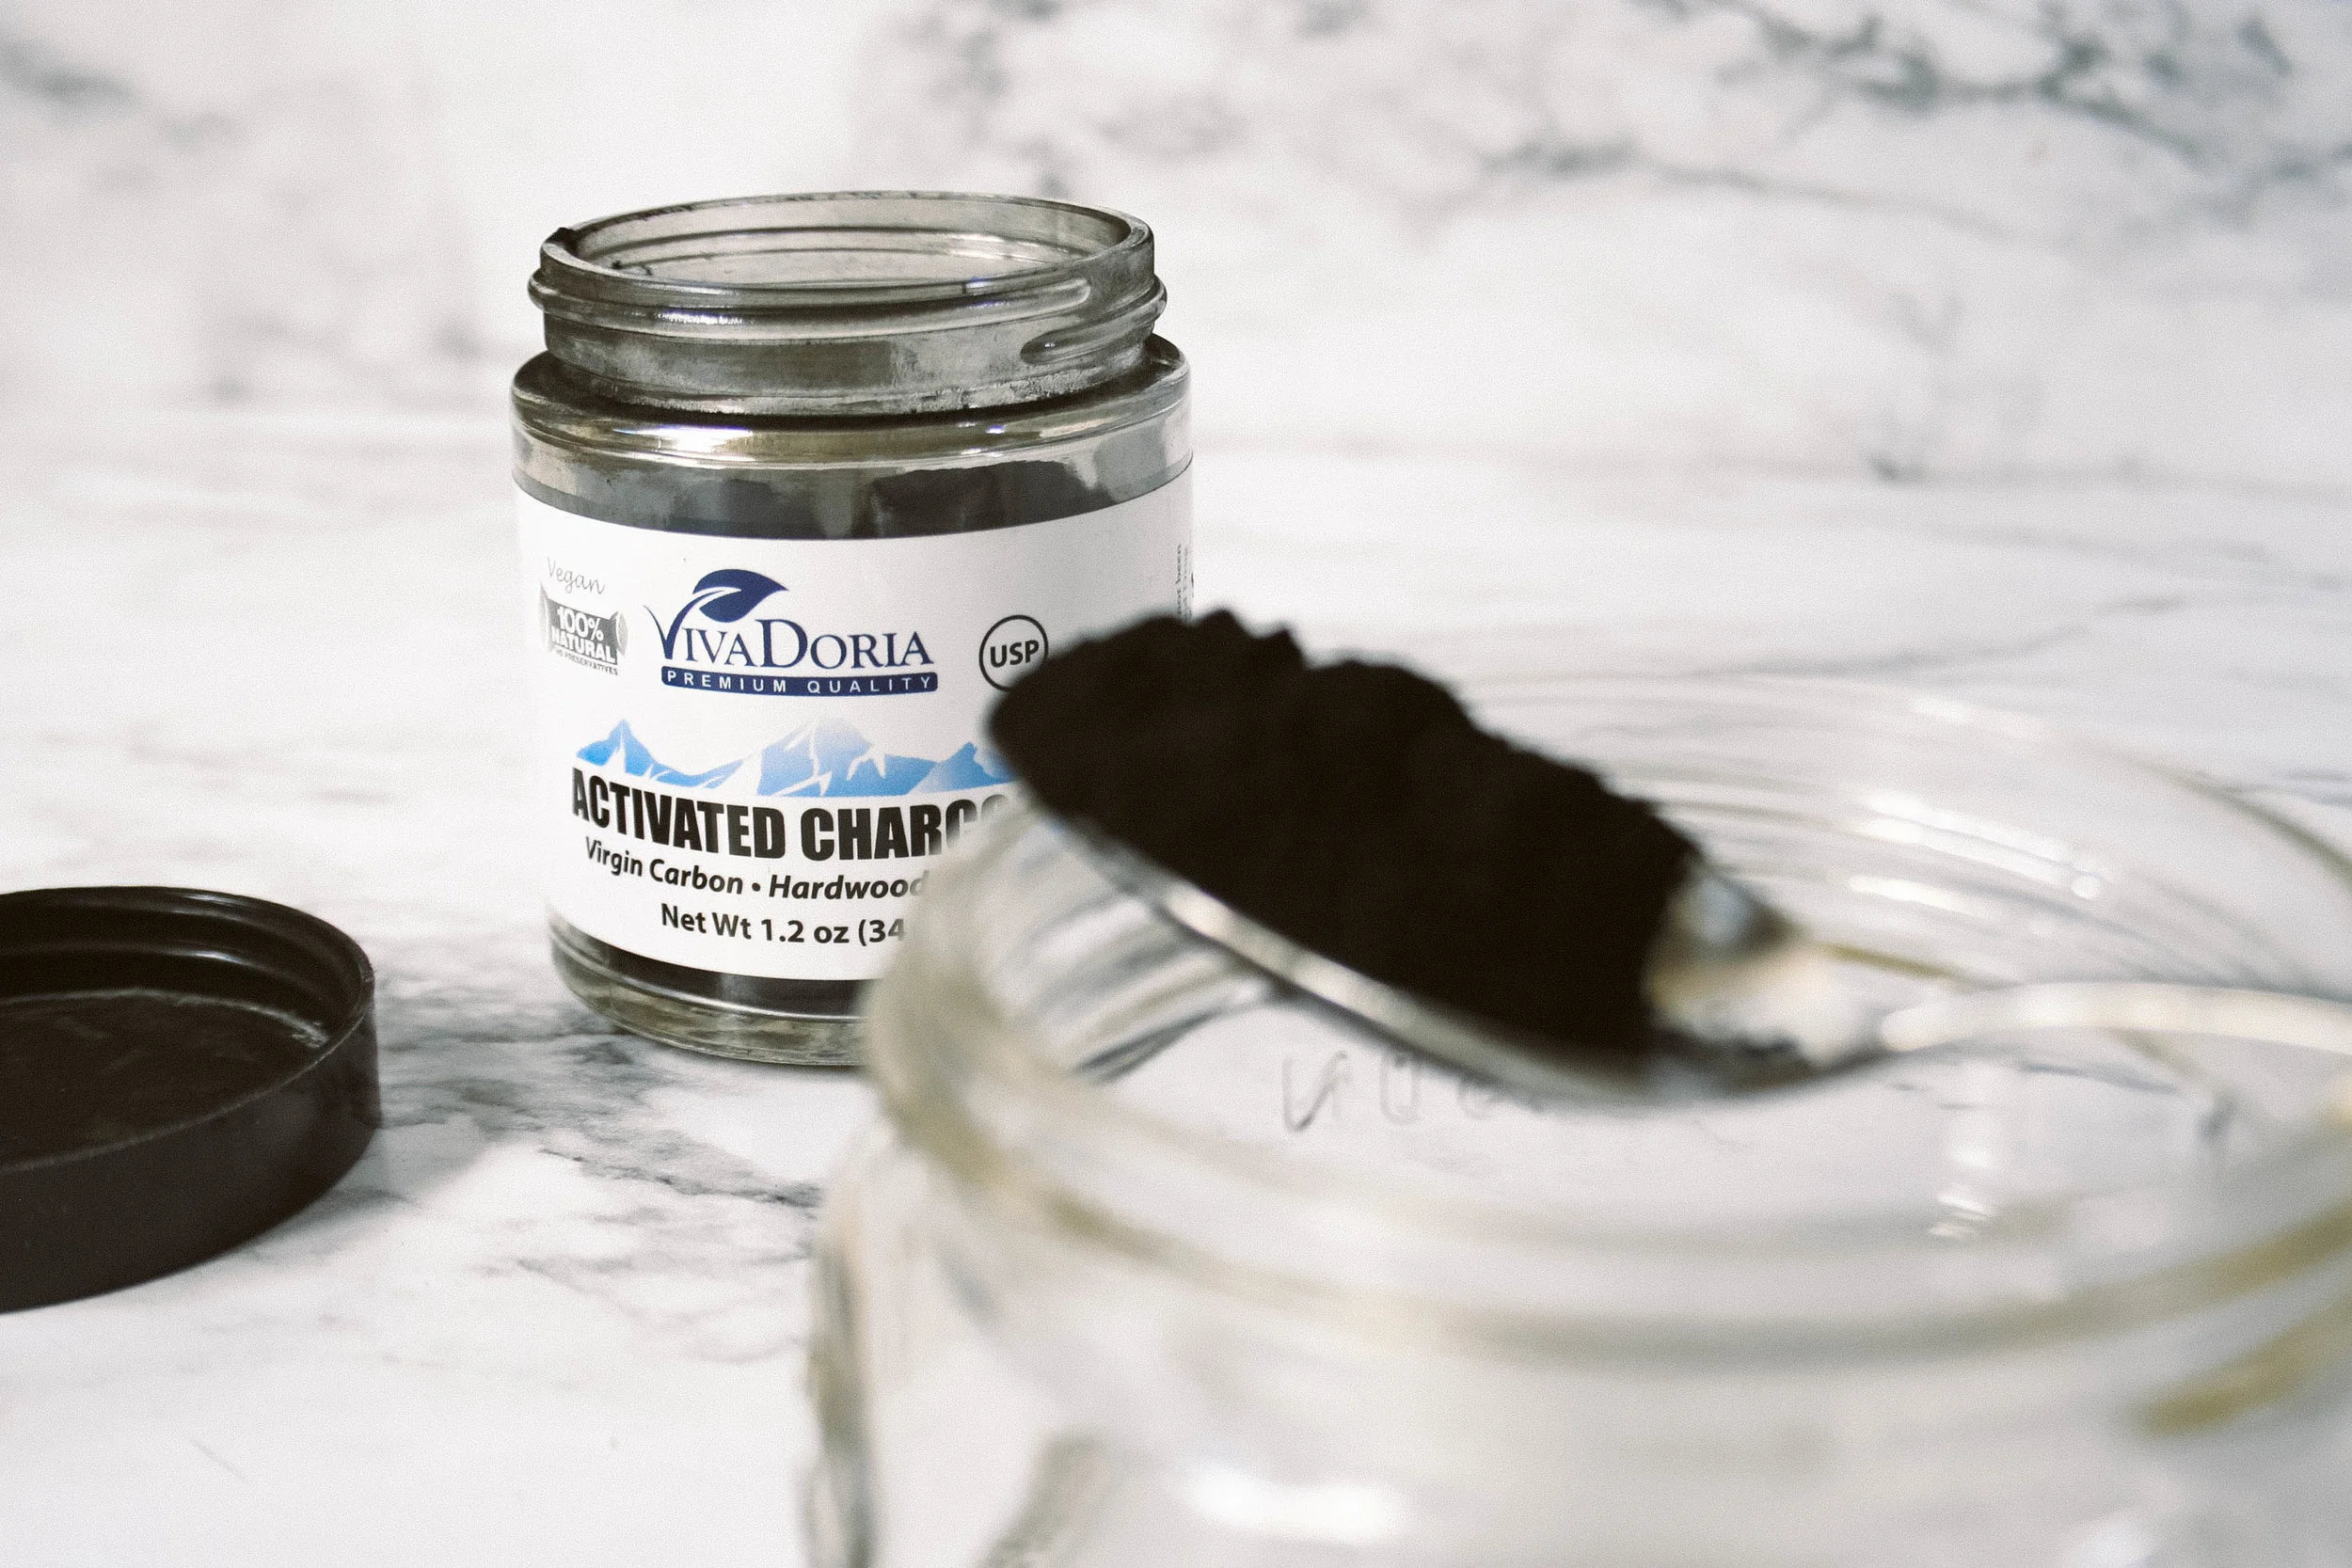
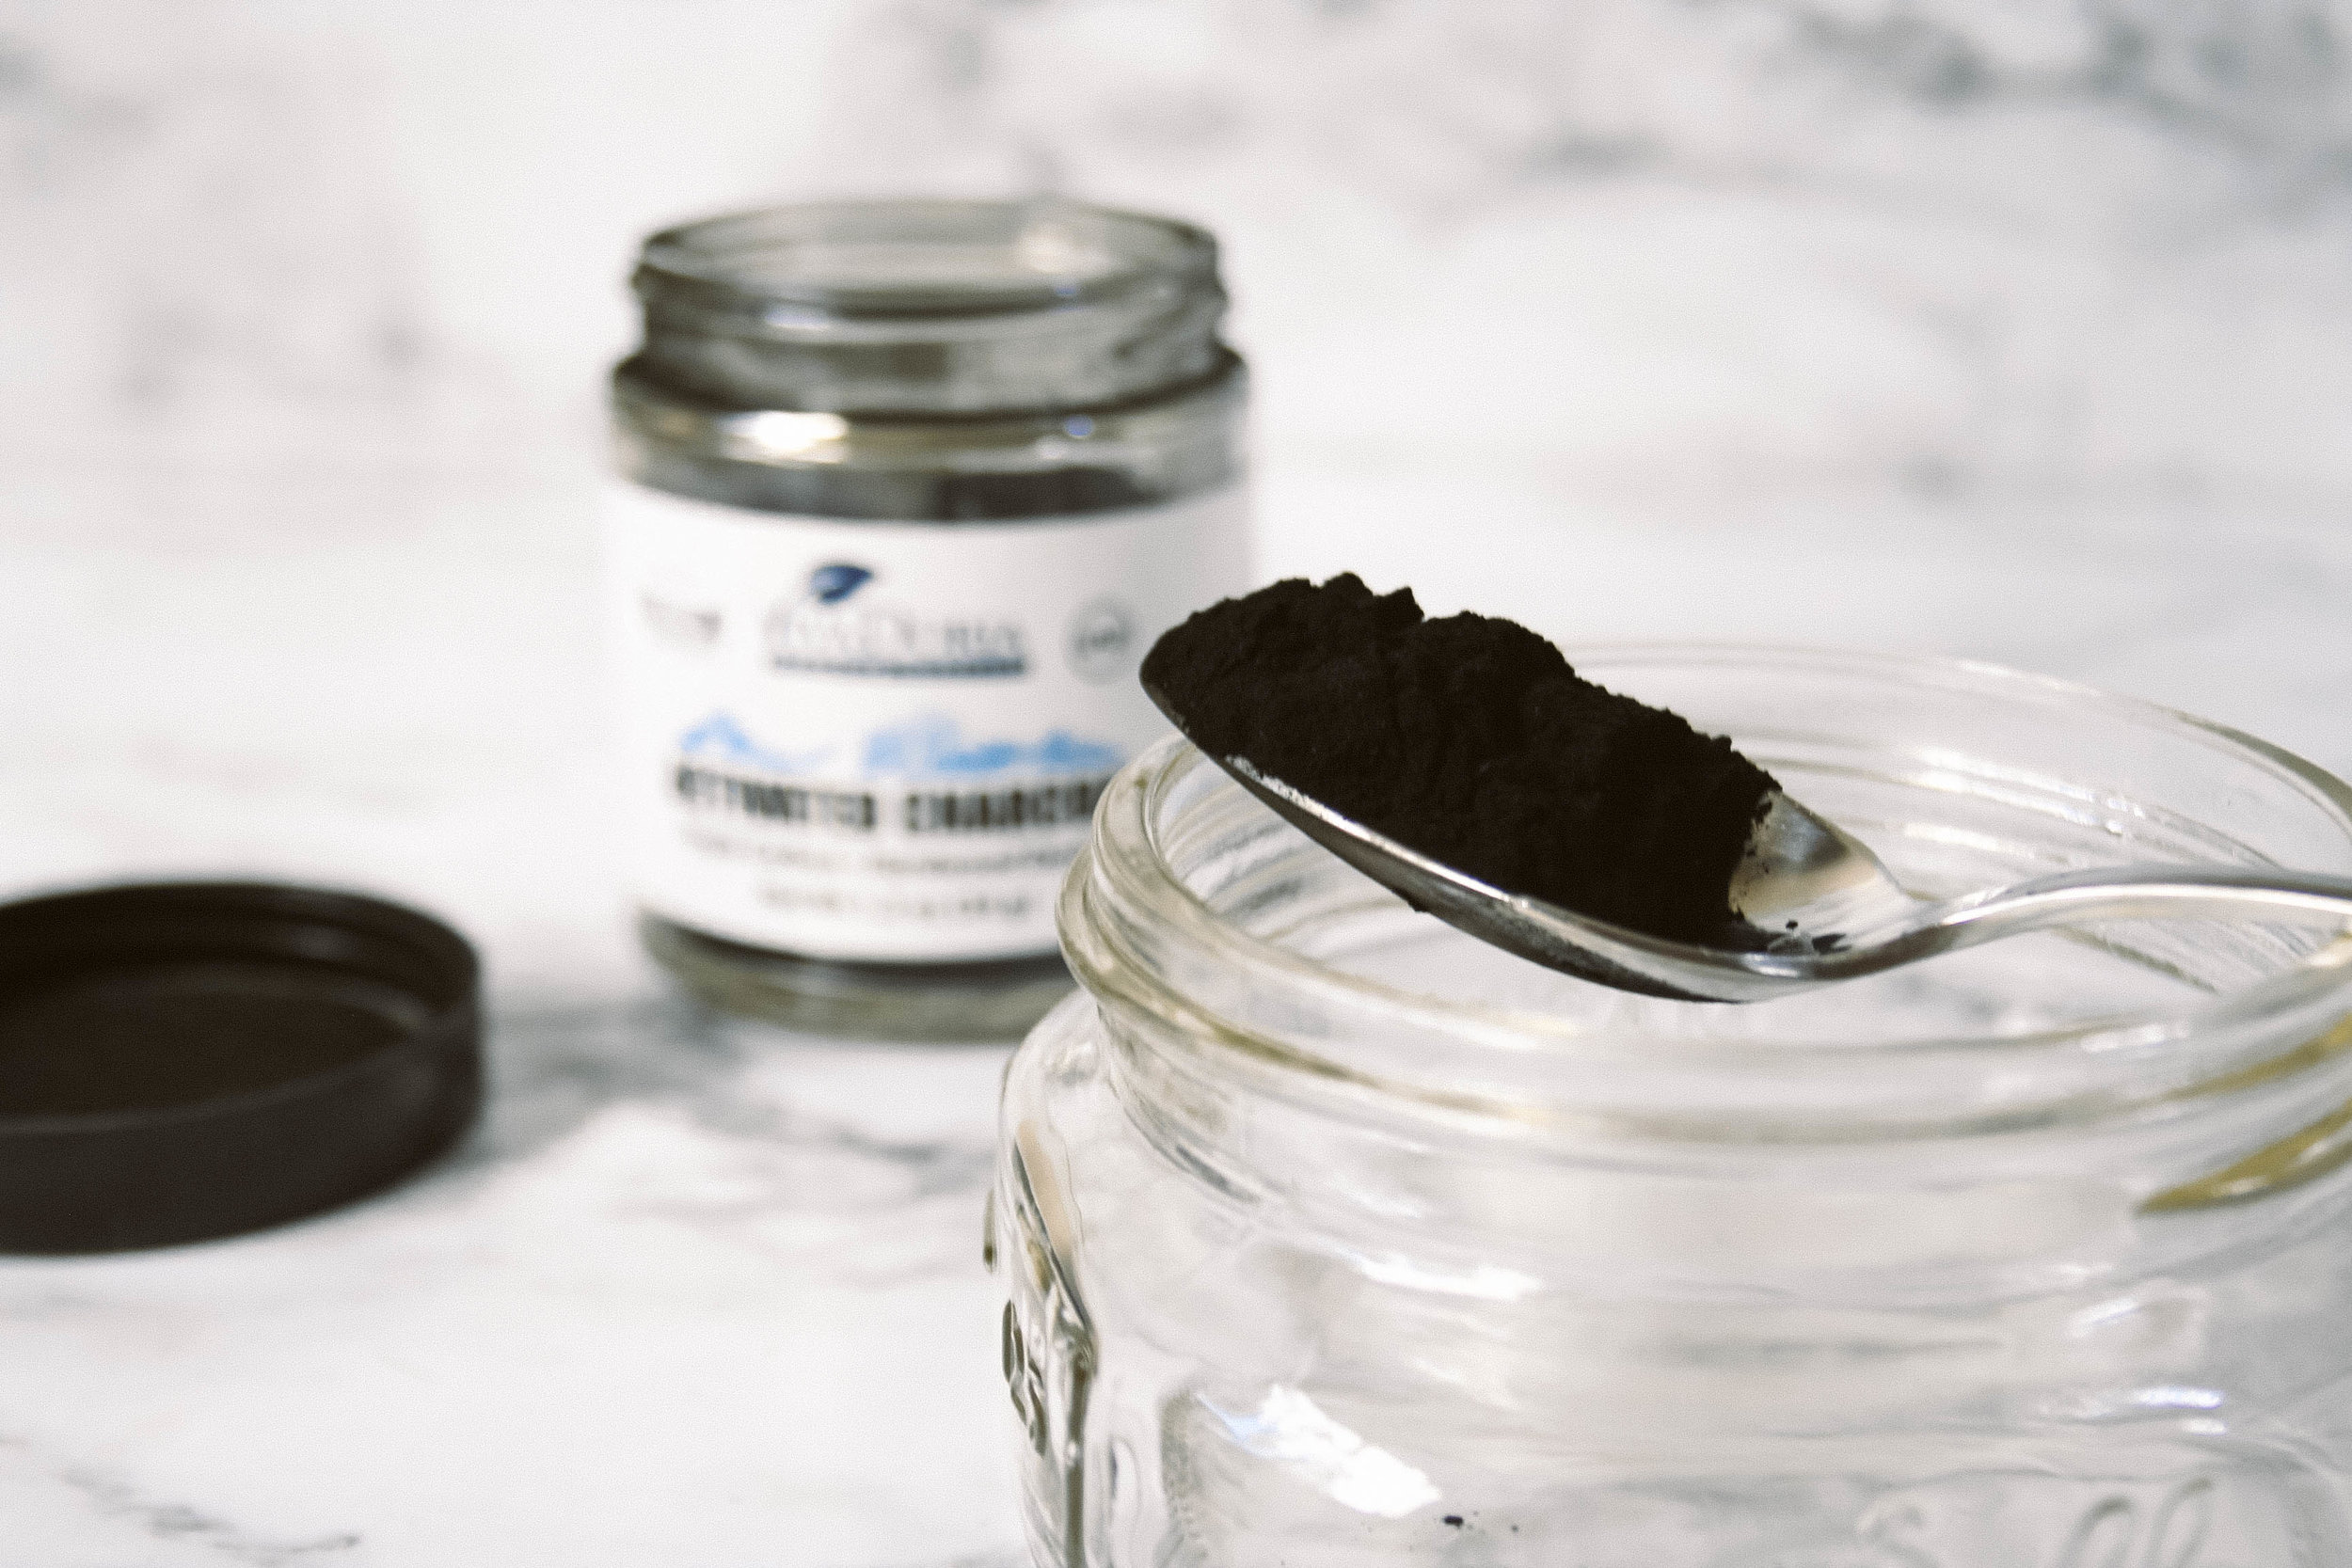
- Charcoal powder
- A brush for mask application
- Moisturizer and/or toner (optional) I use Glossier
The steps:
***Begin by washing your face as per usual. Do not follow up with toner/moisturizer/etc. Just make sure your face is clean and then proceed with the steps below.
- Add one part charcoal powder to your mixing bowl (careful, it is pretty messy!). I usually do a half a spoonful or less.
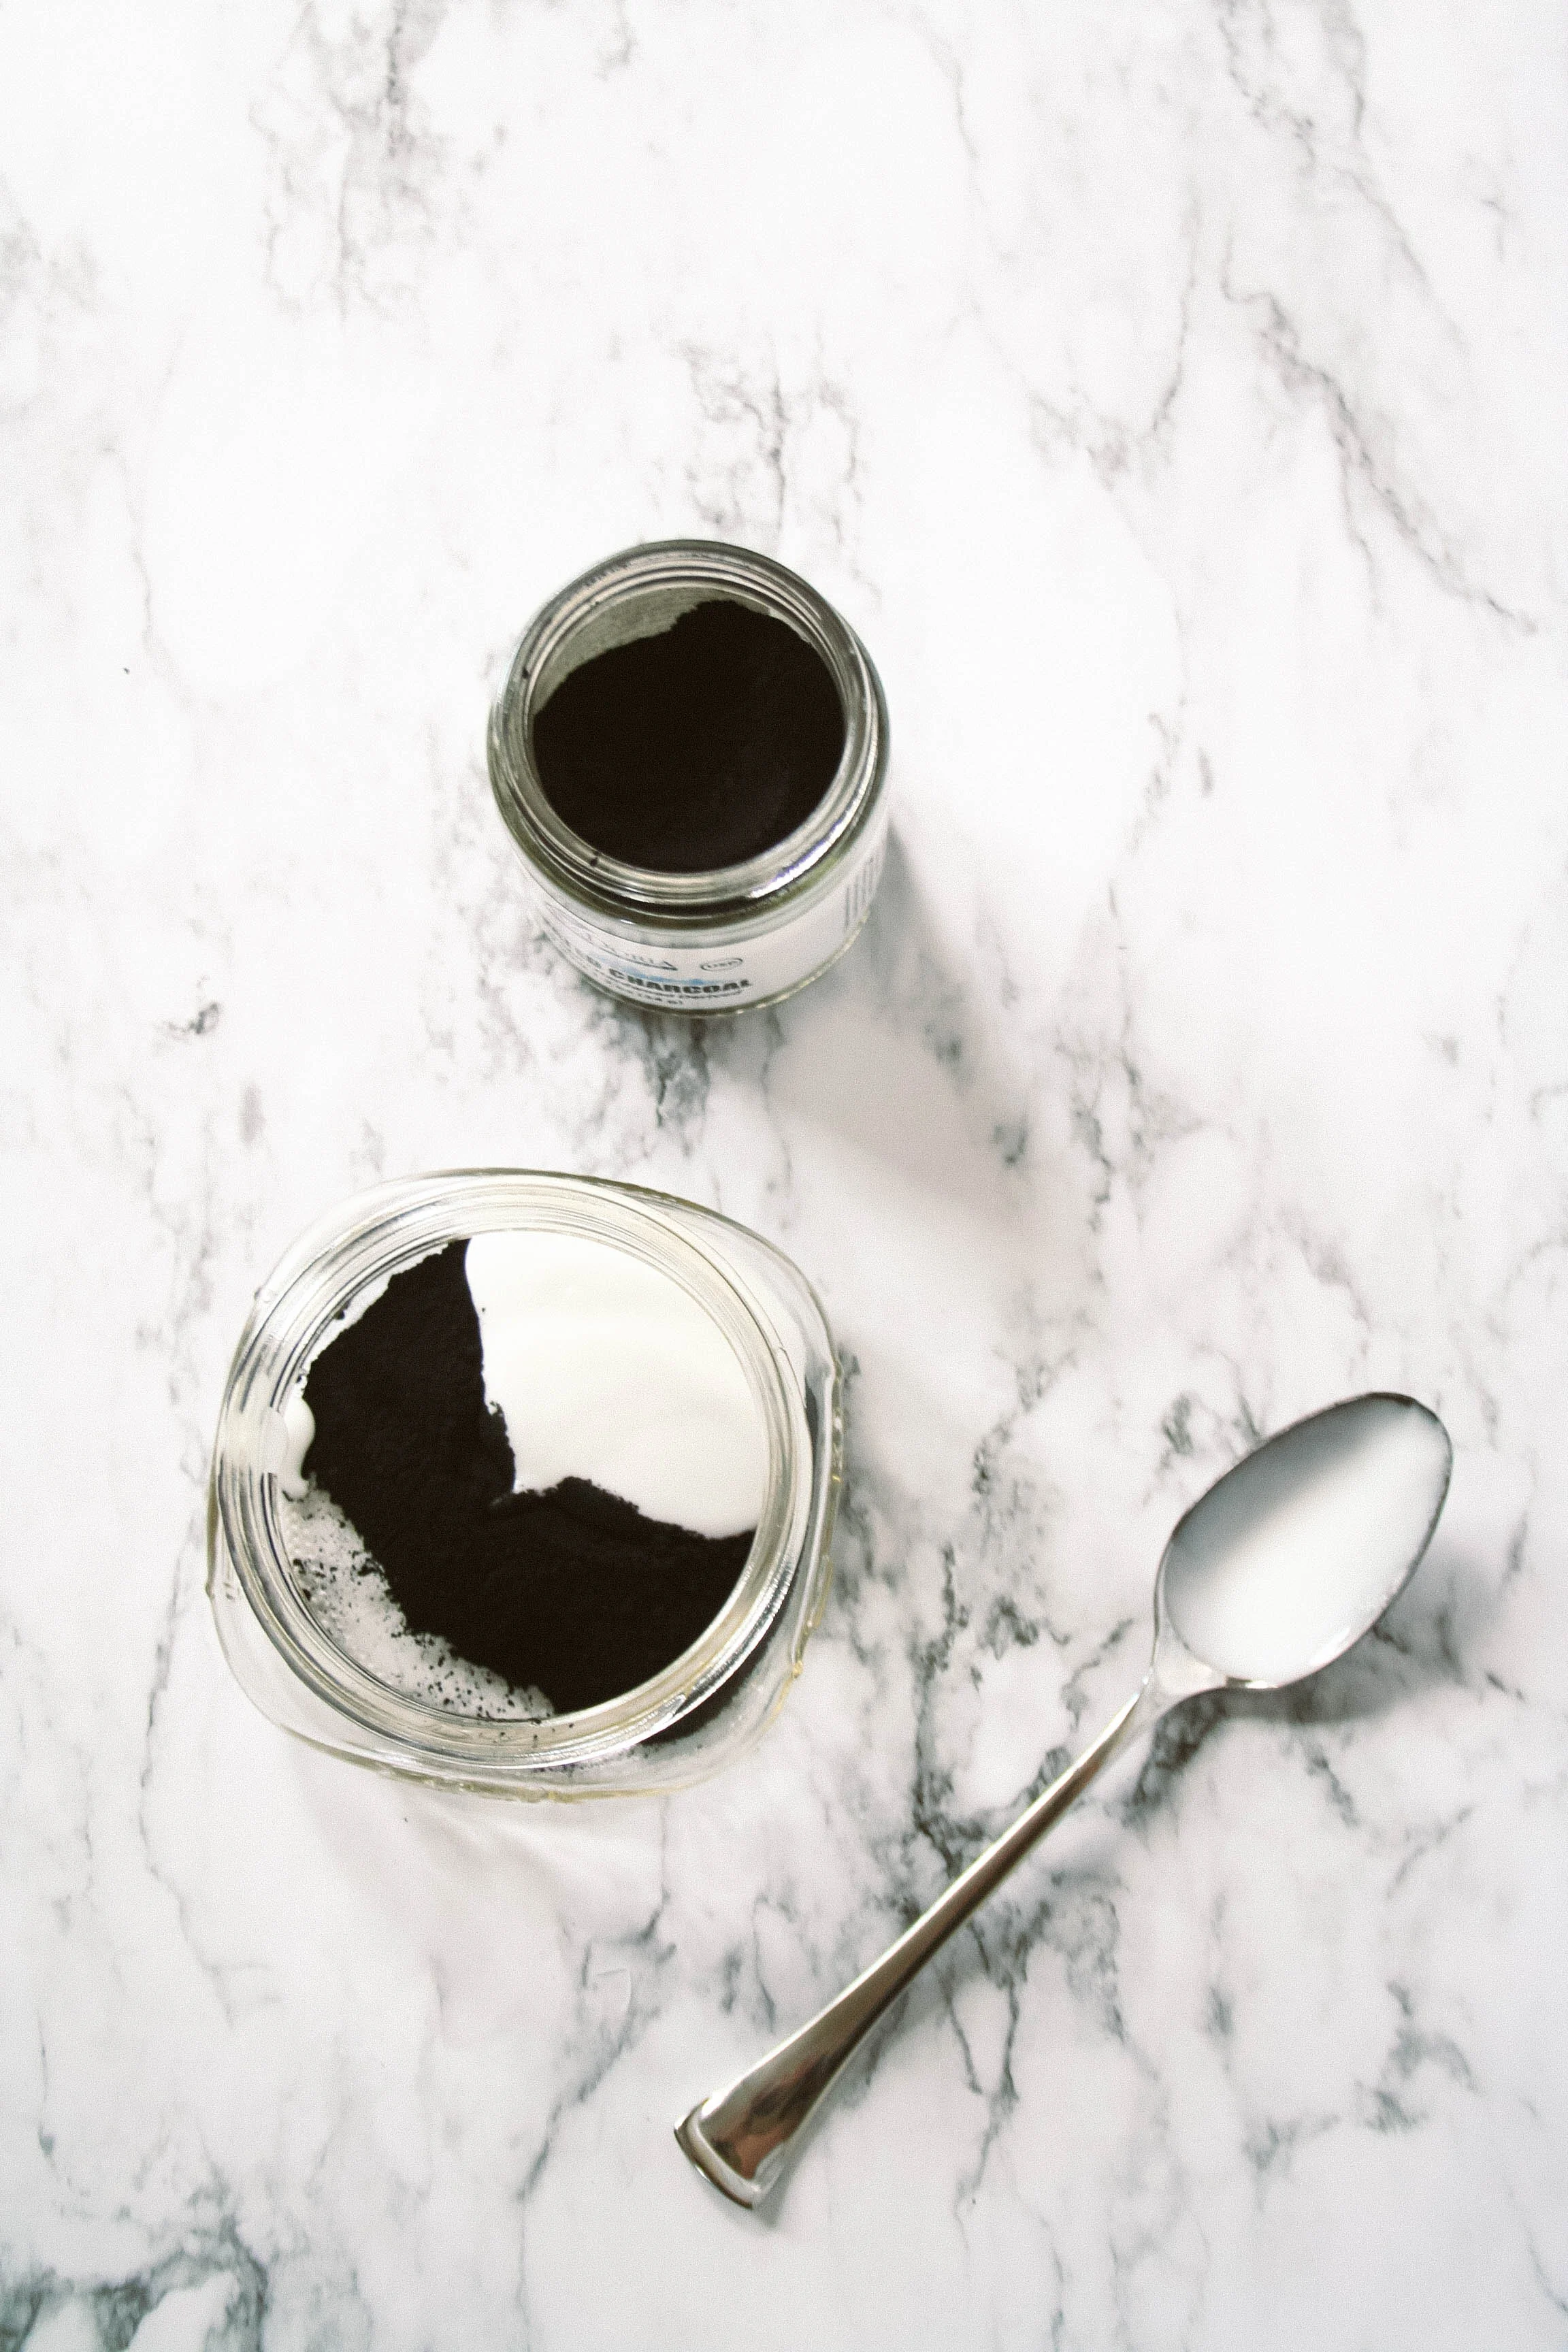
- Add two parts glue to the bowl.
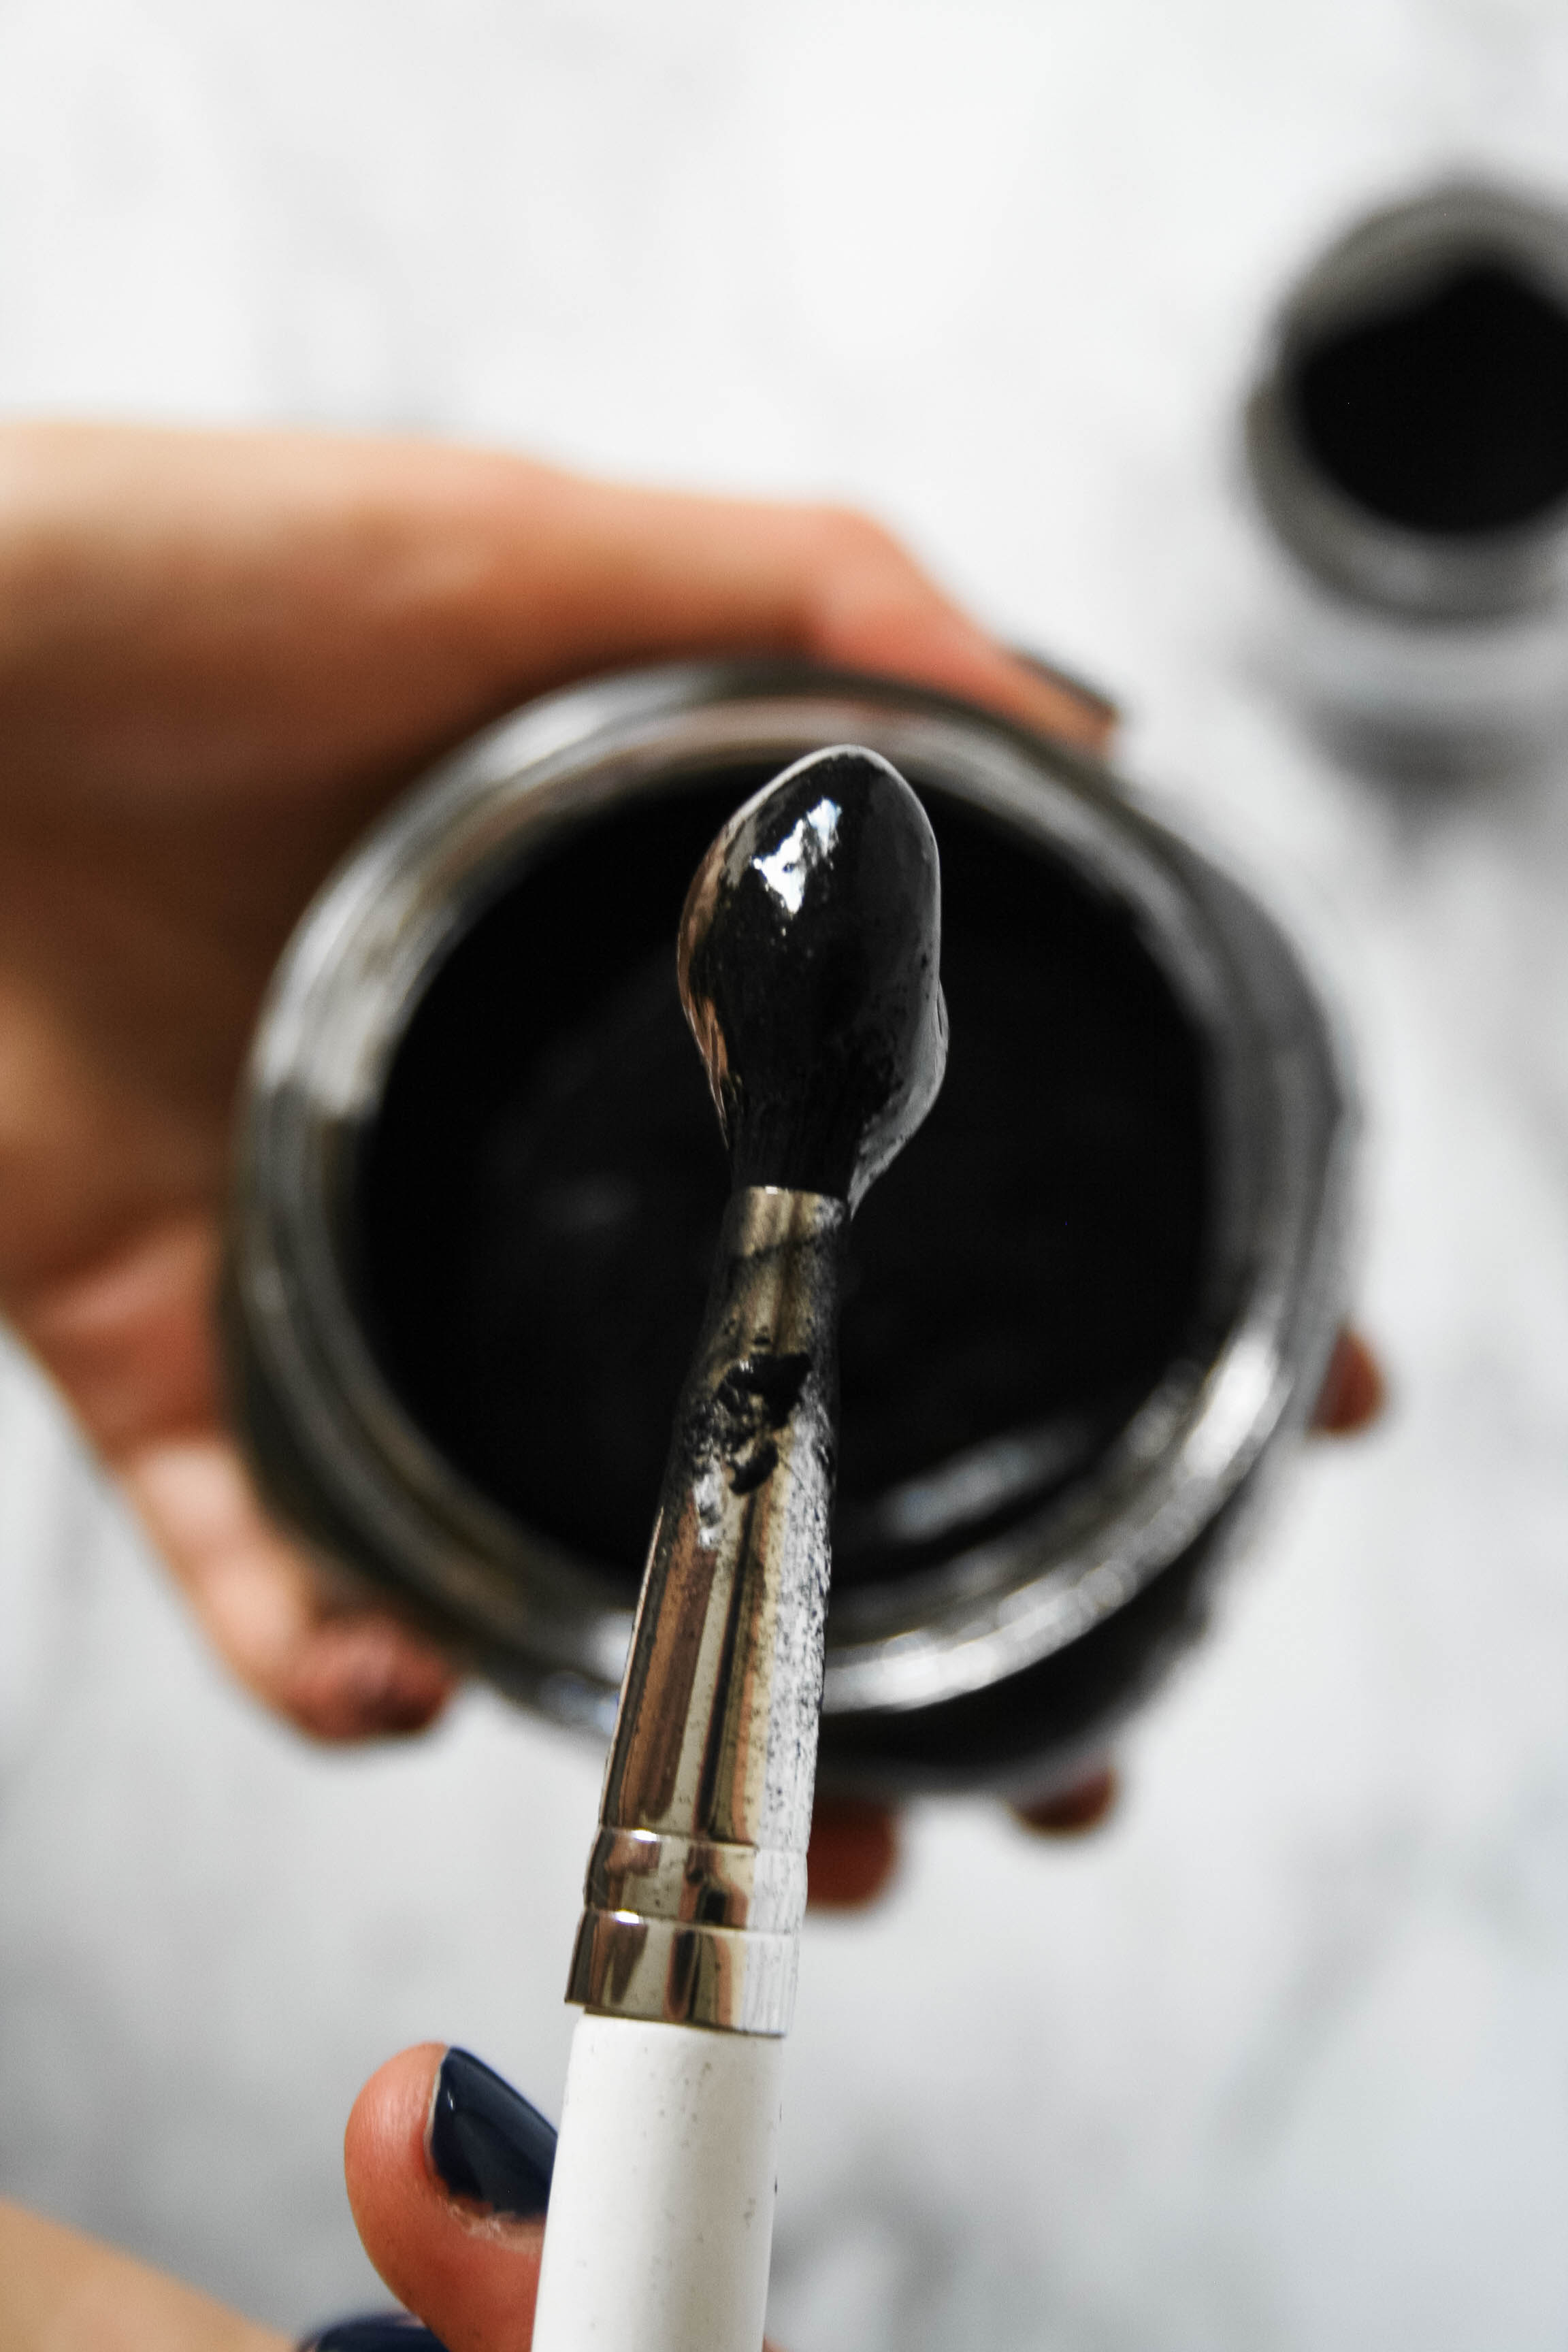
- Mix it all together until you have a smooth, black liquid. Add more glue or charcoal if needed. The mix should not look grey but also should not have an excess of dry charcoal powder in it. You can even add water if you'd rather not add more glue, however the pore mask may not work if that is the case.
- Moisten your problem areas just a tad with water—for me this means wetting my nose and chin and then patting them semi-dry with a towel.
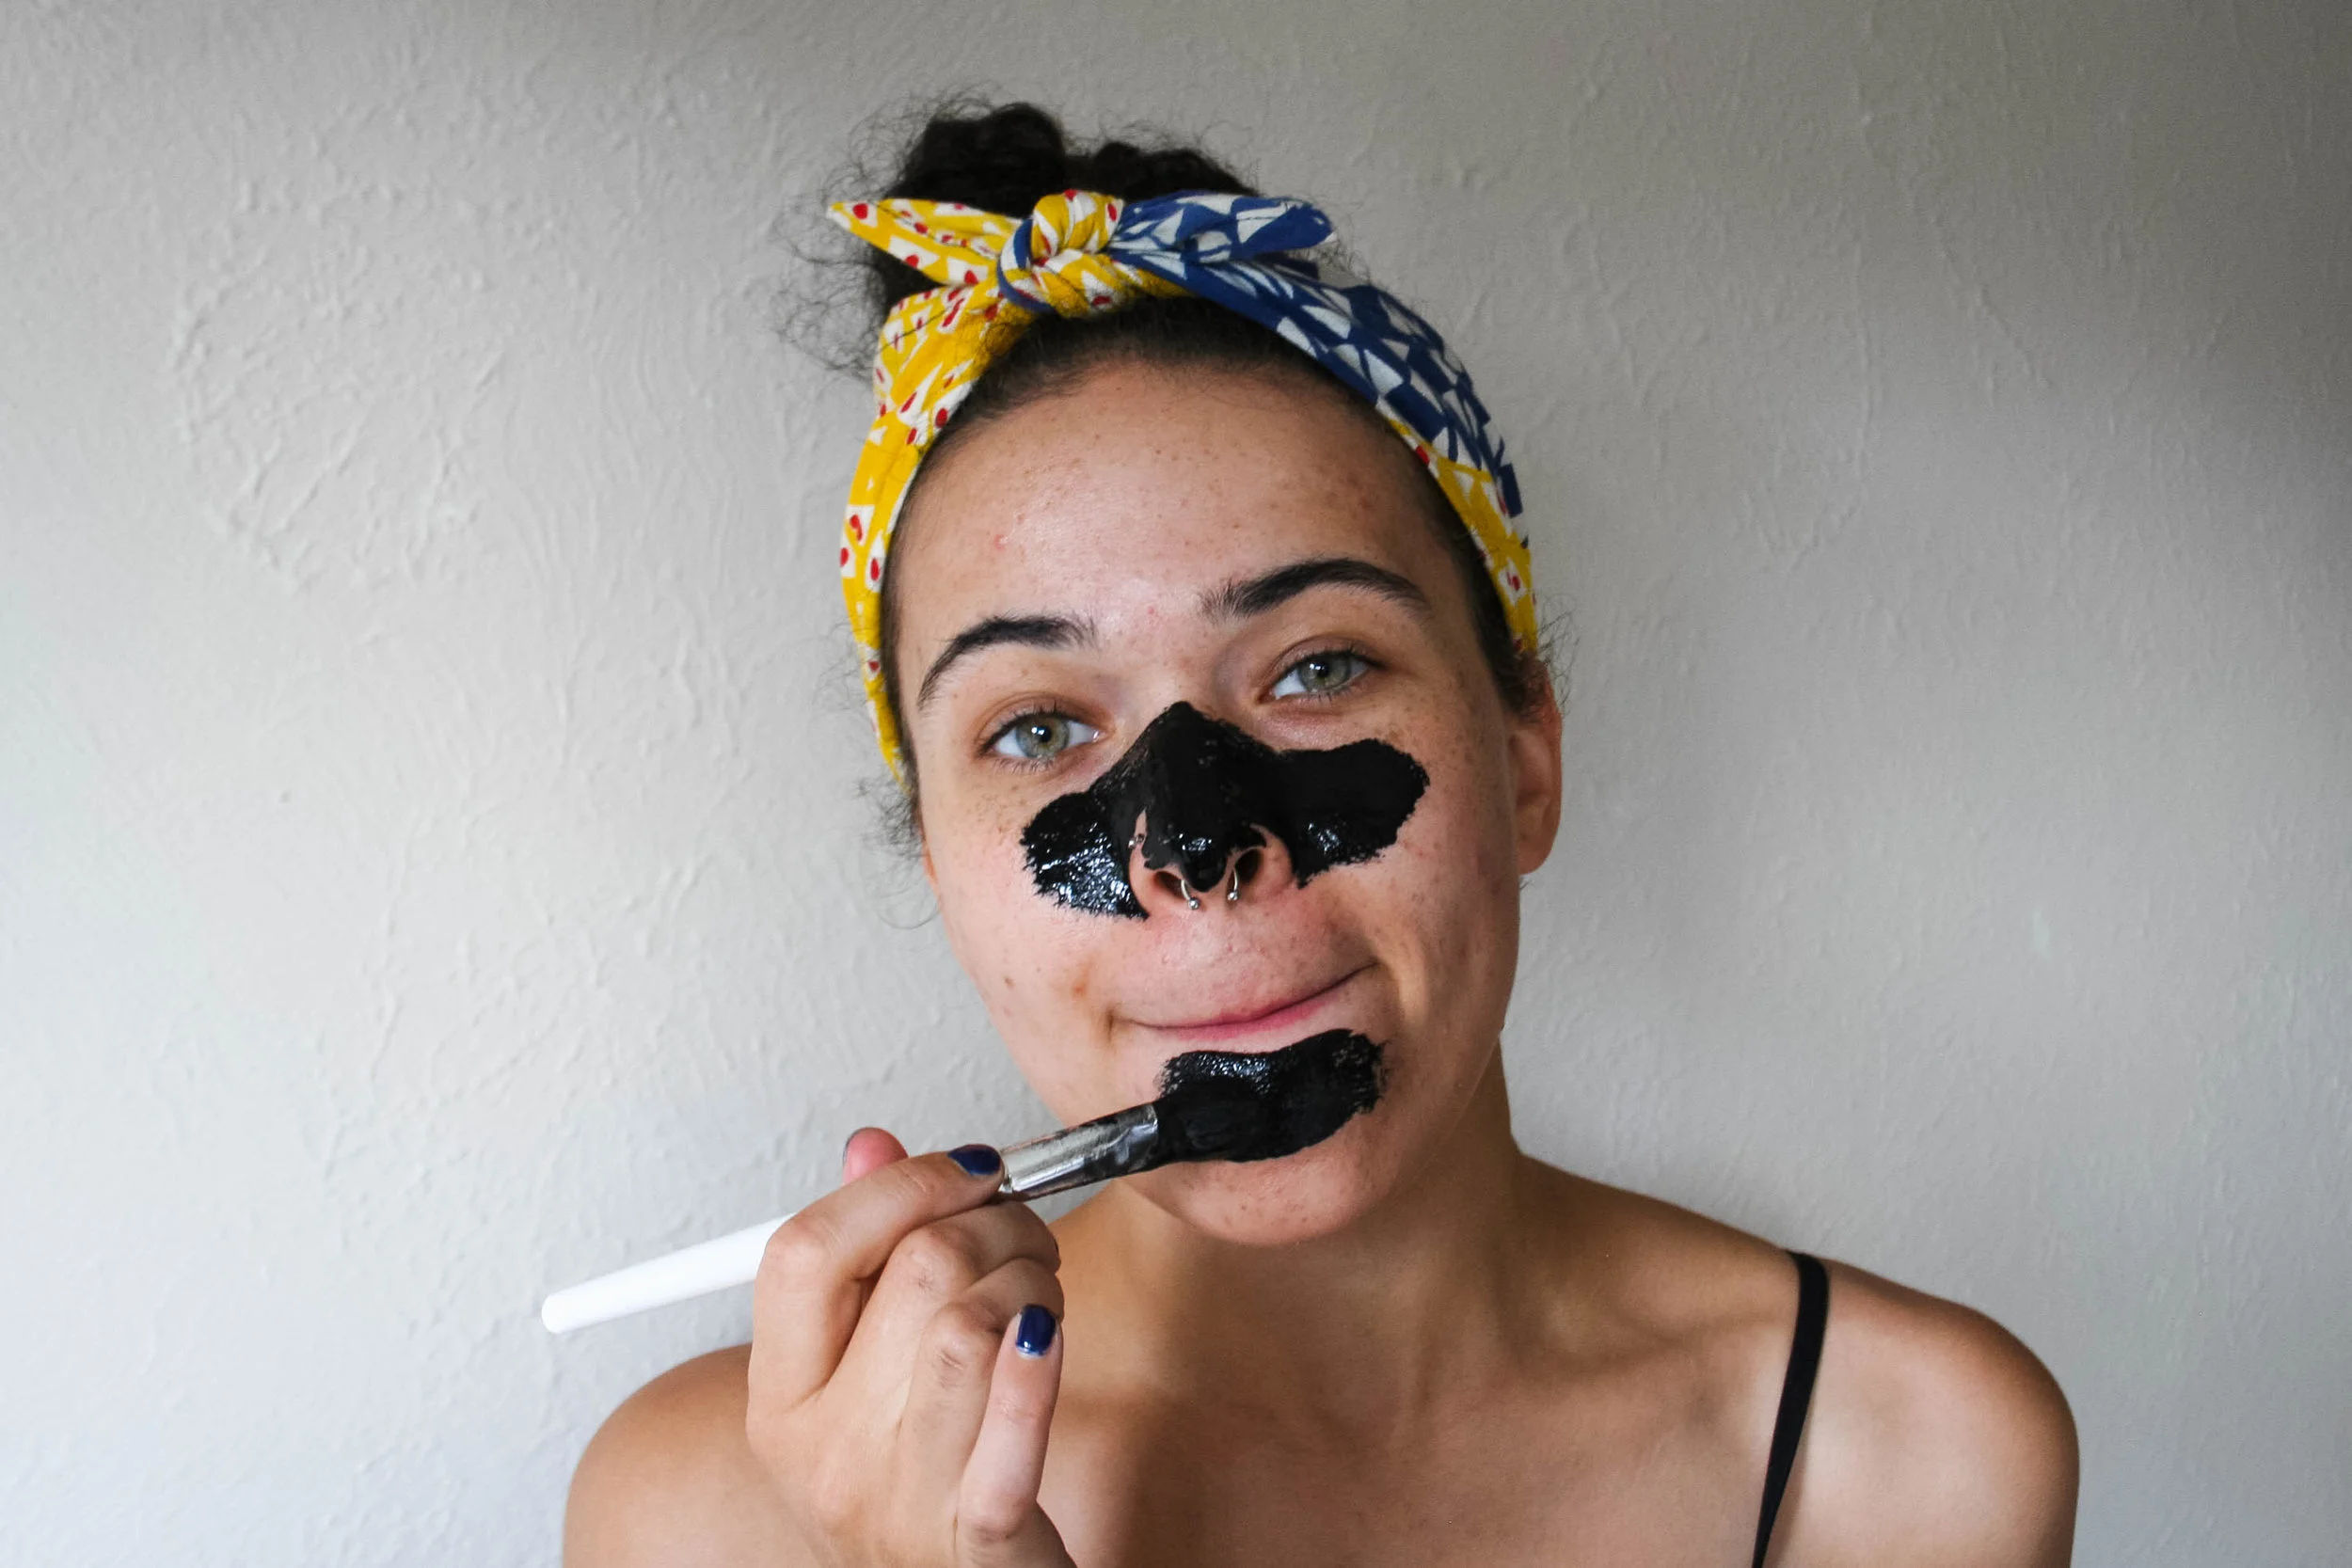
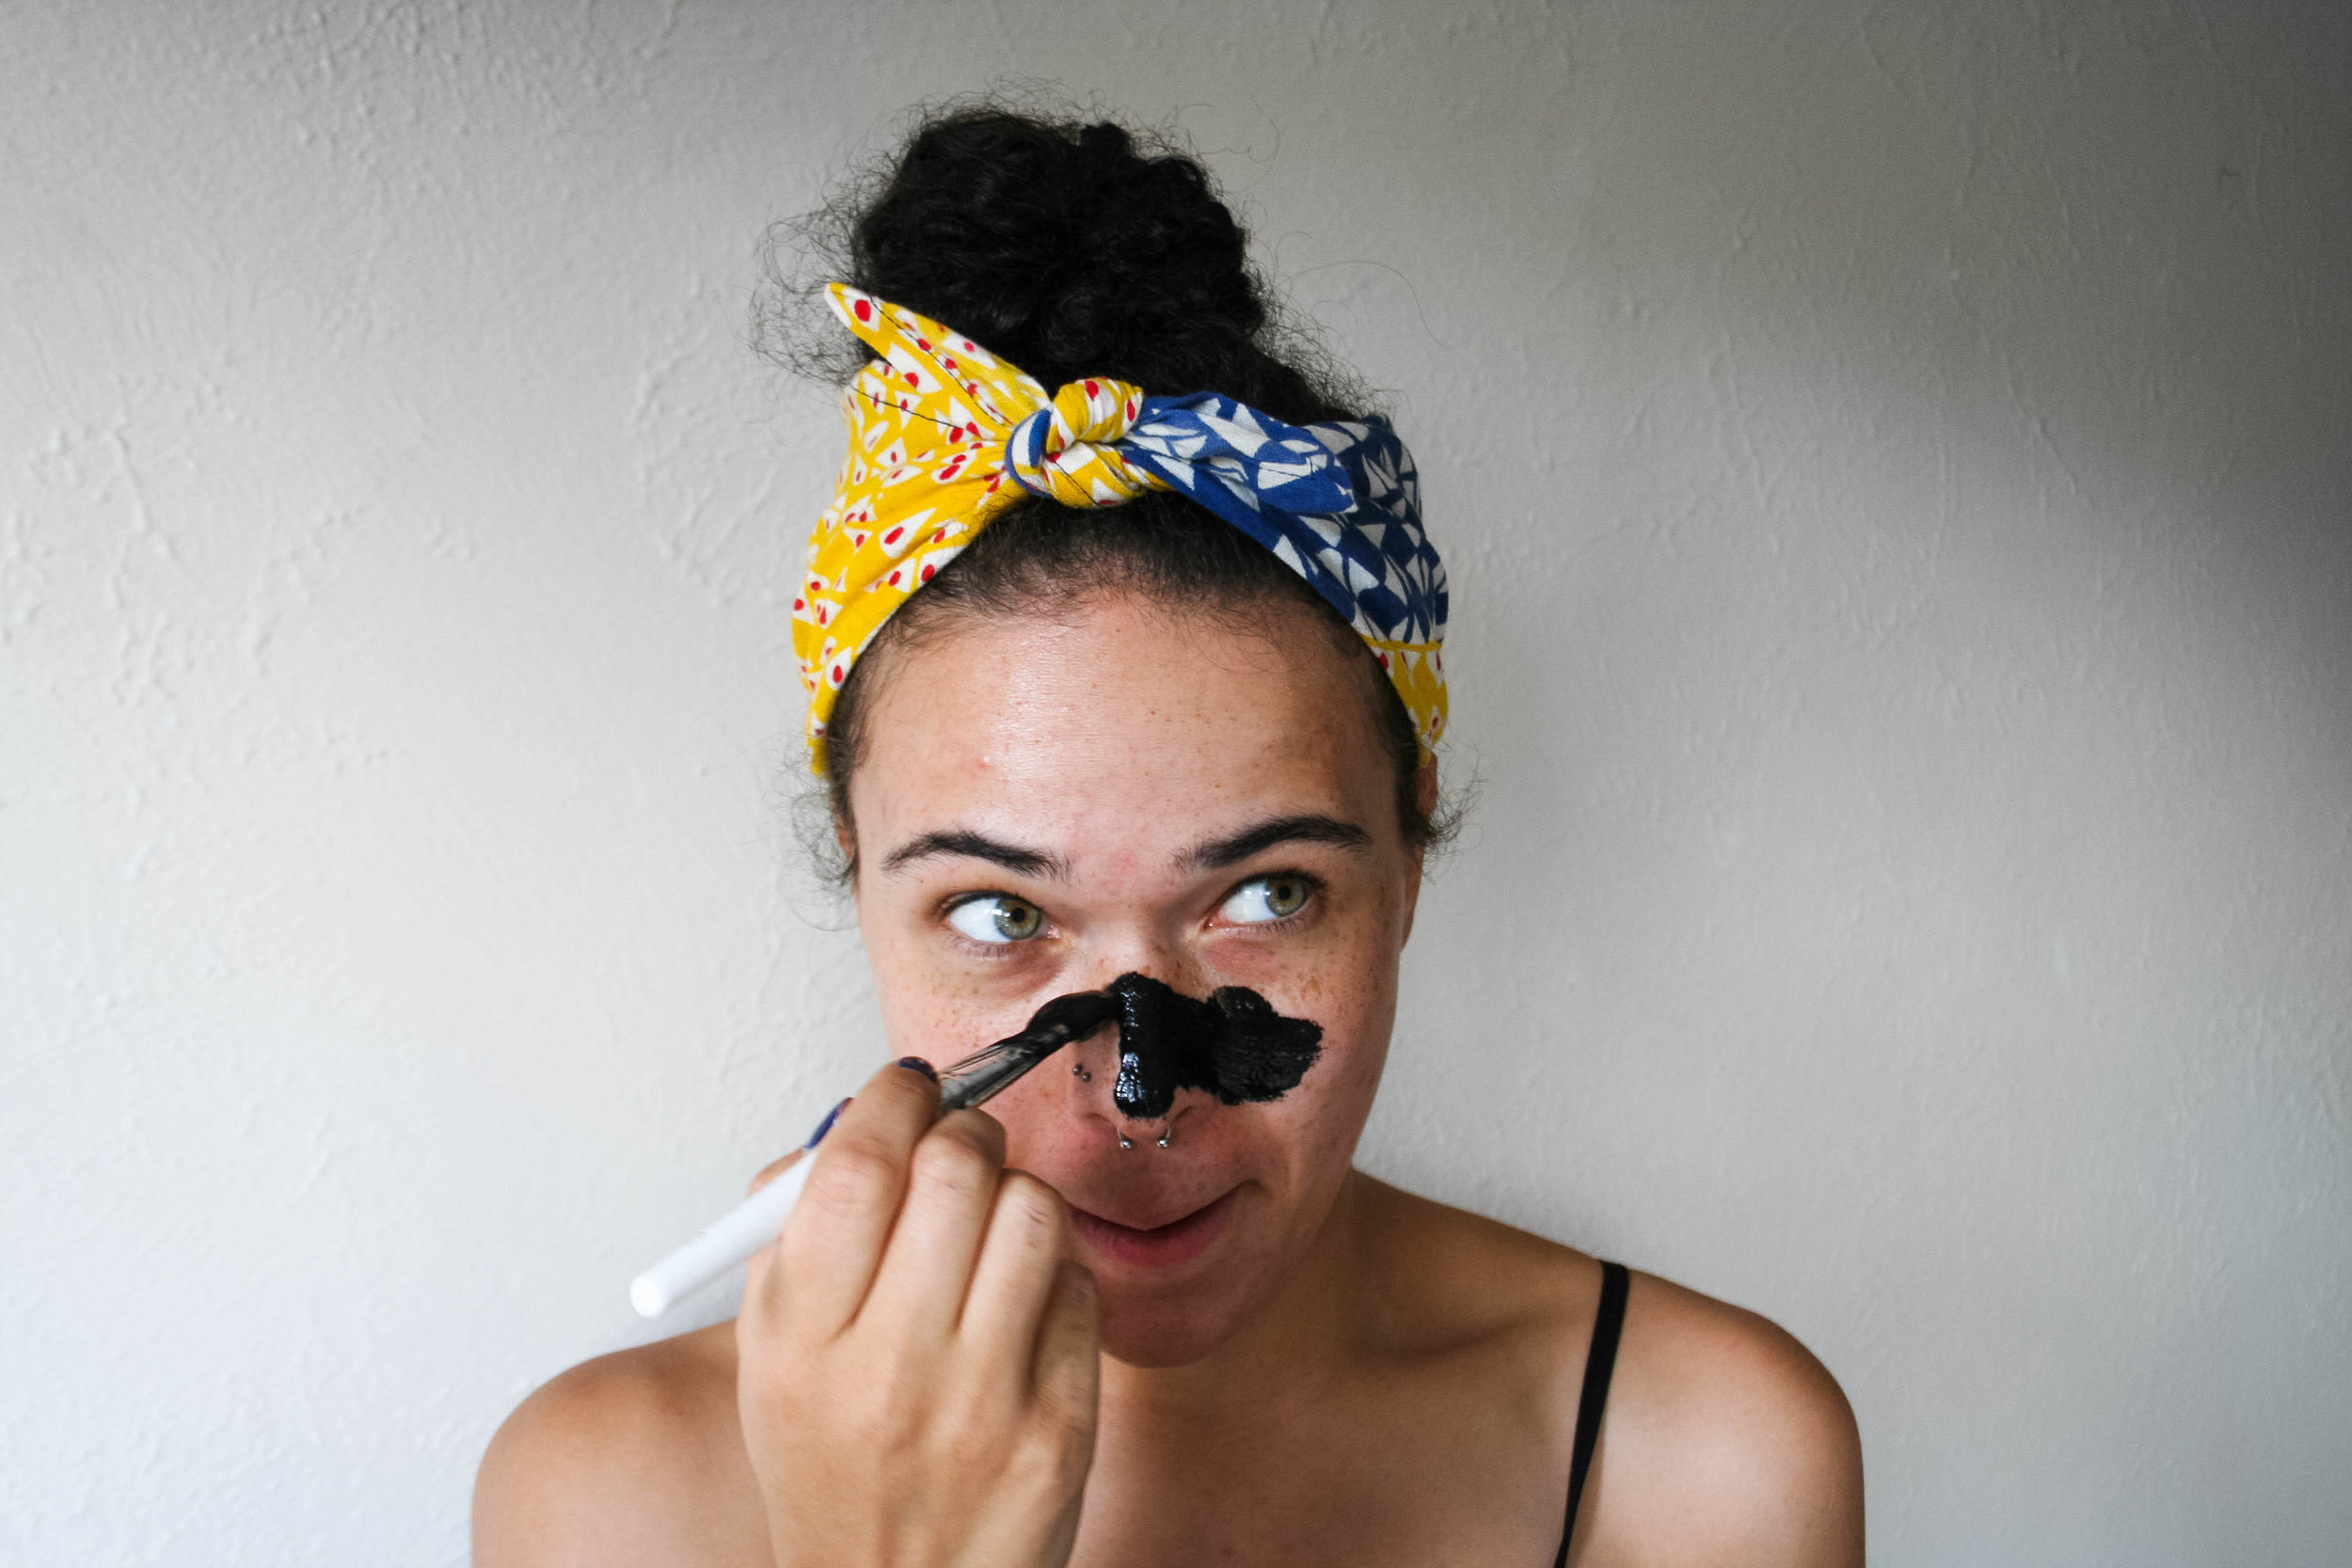
- Apply the charcoal-glue mixture to your problem areas with the brush. I do not recommend adding this to your whole face as it will dry it out. Only apply to where your pores are large and filed up with "gunk."
- Let the mask dry. Takes about 10 minutes to dry fulling depending on how thick you applied the charcoal mix.
- Peel off the mask once it has fully dried. The mask will not if the mixture is still semi wet. If you're gross like me, check out the gunk that came out of your nose as you peel it off ;)
- Wash away any excess residue with just water.
- Apply a moisturizer and/or toner once done.
There is something so satisfying about looking at all the gross crap that just came out of your face
Let pore mask dry for at least 10 minutes
And that’s it! Super simple and it takes no time at all. I do this only once a week, as it can dry out your skin if you do it too frequently.
Do you have any DIY masks you do as well? Or have you tried this recipe with success/no success? Let me know in the comments below.
